
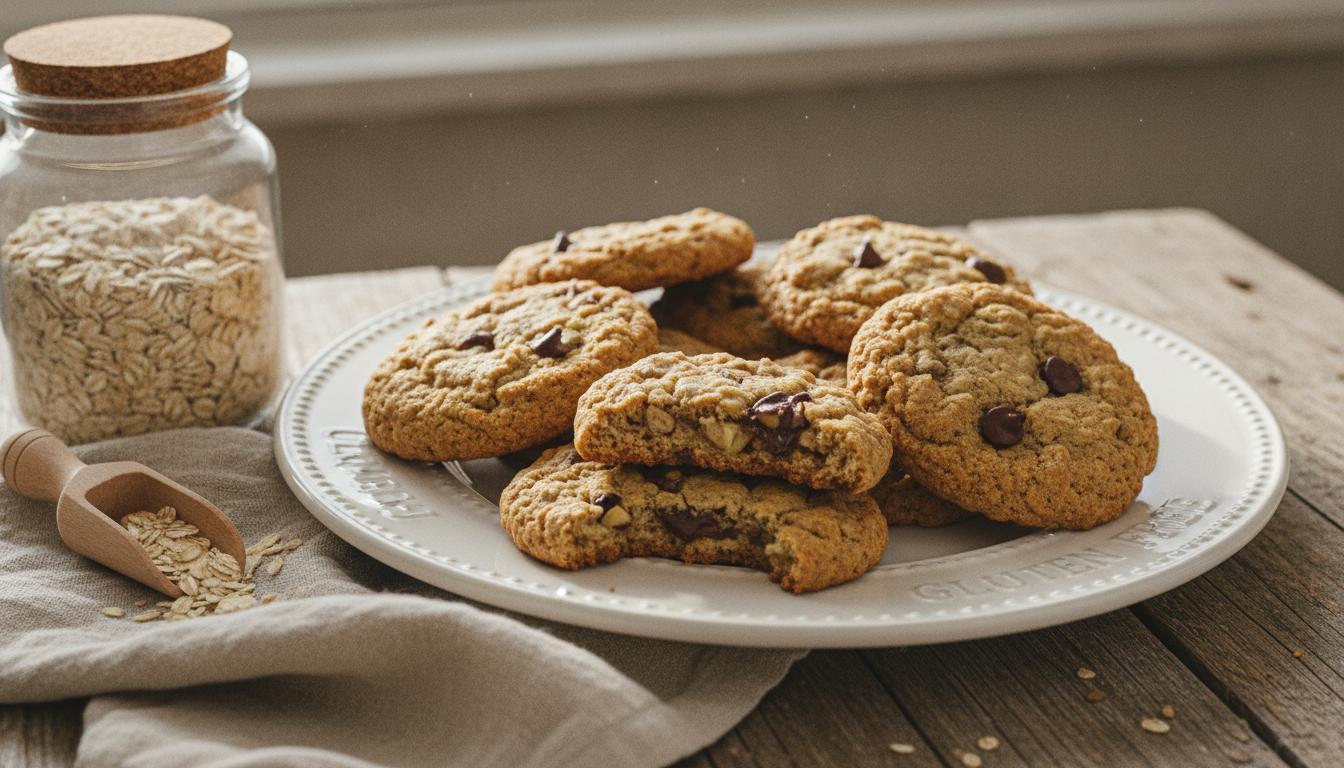
Easy Gluten Free Oatmeal Cookies to Bake at Home
There’s something truly special about the aroma of freshly baked treats wafting through your home. It evokes warm memories and brings a sense of comfort. Imagine gathering your loved ones in the kitchen, laughter filling the air as you prepare a batch of delightful cookies together. These easy gluten free oatmeal cookies can be that perfect addition to your family traditions. If you enjoy homemade treats, explore our gluten free cookies for more delicious options.
This recipe makes about 60 delicious gluten-free oatmeal cookies, making it perfect for sharing with family and friends. With just 20 minutes of prep time and a quick bake, you can enjoy homemade cookies without spending hours in the kitchen.
Whether you prefer them chewy or with a delightful crunch, these cookies can be customized to your liking. Add chocolate chips, nuts, or dried fruits to create a unique flavor that your family will love. So, roll up your sleeves and get ready to bake some memories!
Key Takeaways
- Yields 60 cookies with 20 minutes of preparation and 9 minutes of baking.
- Offers a variety of textures, from crunchy edges to soft centers.
- Uses simple ingredients like gluten-free flour and oats for easy baking.
- Customize with your favorite mix-ins like chocolate or dried fruit.
Table of Contents
Introduction to Gluten-Free Baking
The inviting smell of cookies baking brings joy and comfort to any home. This recipe is a wonderful way to enjoy classic flavors while accommodating those who follow a gluten-free diet. By using Gluten-Free Measure for Measure Flour, PJ Hamel adapts a beloved oatmeal cookie recipe, ensuring everyone can partake in the fun.
In this delightful treat, a blend of oats, butter, and sugar creates a soft, chewy texture that is accessible for even beginner bakers. The balance of cinnamon and a hint of nutmeg—with precise measurements of 1¼ teaspoons of cinnamon and ⅛ teaspoon of nutmeg—adds warmth and flavor to the cookies.
It’s essential to check every ingredient package, as some can contain hidden sources of gluten. When baking for someone with celiac disease, look for gluten-free labeling and check ingredients carefully. The FDA’s gluten-free labeling guidance explains the requirements for foods labeled gluten-free. Beyond Celiac also provides practical guidance on following a gluten-free diet and avoiding gluten exposure.
Ingredients and Essential Tools
The delightful experience of baking at home begins with the right ingredients and tools. Understanding the roles of each ingredient can elevate your baking game. Here’s a quick overview of the key components:
Key Ingredients and Their Roles
- Flour: Use a blend of almond, tapioca, and sweet rice flour for a great texture.
- Oats: Old-fashioned rolled oats provide the best chewiness and structure. If you need the cookies to be gluten-free, choose oats labeled gluten-free and check the package for appropriate labeling. The FDA’s guidance on gluten-free labeling and oats provides additional information.
- Spices: Cinnamon and nutmeg add warmth and depth to your cookies.
In addition to these ingredients, you’ll need a few essential tools to make the process smooth:
Must-Have Baking Equipment and Tips
- Mixing Bowl: A large bowl for combining your ingredients.
- Mixer: An electric mixer can save time when creaming butter and sugar.
- Baking Sheet: Line it with parchment paper for easy cleanup.
- Cookie Scoop: This tool helps create uniform cookie sizes.
With these ingredients and tools at your disposal, you’re ready to create delicious cookies in just a few minutes!
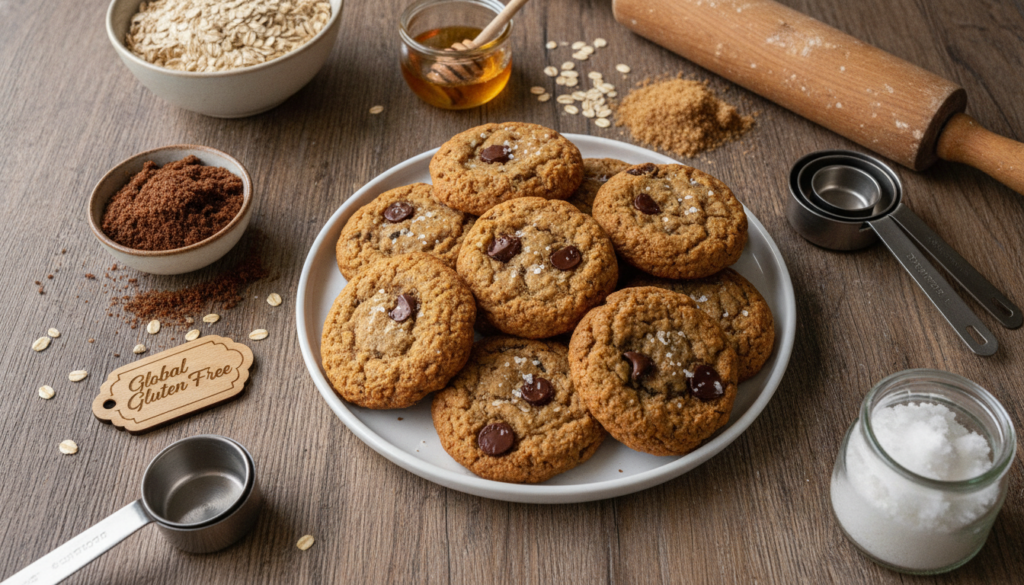
Gluten Free Oatmeal Cookies Recipe Essentials
Baking is an art that brings families together, creating delicious memories. Understanding the ingredients you use can enhance your baking experience. Here’s a closer look at some essential ingredient substitutions and add-ins that can elevate your cookies.
Understanding Ingredient Substitutions
When it comes to creating the perfect cookie dough, you might want to experiment with different flours. Almond flour, tapioca flour, and sweet rice flour each bring unique textures. These alternatives can add nuttiness, crisp edges, or a chewy center to your cookies.
Additionally, pulsing old-fashioned oats 10-15 times can give your cookies a softer texture. This technique makes them fluffier, ideal for those who enjoy a more delicate bite.
Incorporating Add-Ins: Raisins, Chocolate Chips, and Nuts
To personalize your cookies, consider adding ½-¾ cup of raisins or dried cranberries. You can also mix in ½-¾ cup of chopped nuts or 4 ounces of chocolate chips. These add-ins not only enhance flavor but also provide delightful textures.
For another chocolate-filled option, try our gluten free chocolate chip cookies.
If you prefer a cakier cookie, replace shortening with 57 grams of butter. This simple swap can transform your cookies into a richer treat.
Step-by-Step Baking Instructions
The joy of baking cookies is not just in the final product but in the process itself. Follow these simple steps to create delicious treats that everyone will love.
Preparing the Cookie Dough
Start by pulsing or chopping the oats to your desired texture. In a large bowl, combine the flour, cinnamon, baking soda, and salt. Mix these dry ingredients well.
Next, cream the butter and sugar together for about 3-5 minutes until the mixture is smooth and fluffy. Then, add in the egg, vanilla, and any other wet ingredients like molasses or vinegar.
Carefully fold in the oats and any chosen add-ins, such as chocolate chips, until they are evenly distributed. Be careful not to overmix, as this can make the dough dense.
Baking Process and Temperature Guidelines
Preheat your oven to 350°F. Use a scoop to portion out about 2 tablespoons of dough for each cookie, or make smaller 1½-tablespoon balls. Space them about 2 inches apart on a lined baking sheet.
Bake the cookies for 10-12 minutes, or until the edges are set and lightly browned, while the centers still look slightly underbaked. For a crispier texture, bake for an additional minute or two.
Once done, let the cookies cool on the baking sheet for 5-10 minutes before transferring them to a wire rack. This allows the centers to finish setting while keeping the edges perfectly chewy.
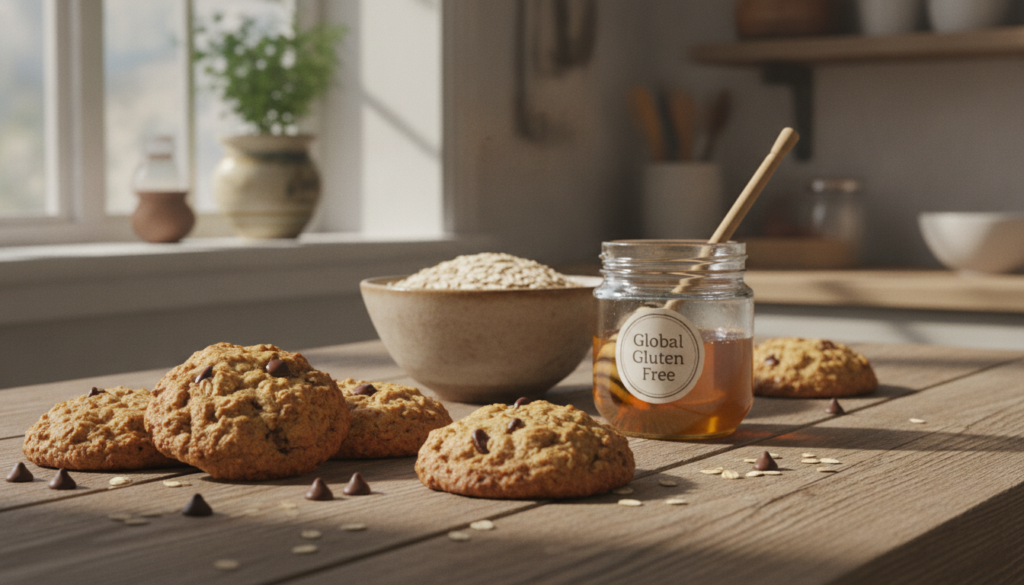
Variations and Customization Ideas
Baking allows you to explore a world of flavors and textures right in your kitchen. With a few adjustments, you can create cookies that suit your preferences and dietary needs.
When using room temperature dough, your cookies will spread more, resulting in thinner, crisper edges. In contrast, chilling the dough for 1 hour in the refrigerator or just 15 minutes in the freezer yields thicker, softer, and chewier cookies. Chilled dough typically takes about 13 minutes to bake at 350°F, while room-temperature dough bakes in 10-12 minutes.
Room Temperature Adjustments and Chilling Techniques
- Chill shaped dough for thicker cookies.
- Room-temperature dough creates thinner, crisper cookies.
Adaptations for Nut-Free and Dairy-Free Options
For those with nut allergies, try a blend of 81 grams oat flour, 30 grams sweet rice flour, and 28 grams tapioca flour. If you prefer a dairy-free recipe, simply replace butter with plant-based alternatives and use oat milk or another dairy-free option.
Feel free to add raisins, dried cranberries, or chocolate chips to customize your cookies further. If you prefer a classic cookie without oats, our gluten free sugar cookies are another easy option. You can even freeze portioned dough balls for up to 6 months, adding an extra minute or two to the baking time after thawing.
Expert Baking Tips and Troubleshooting
Baking cookies can be a rewarding experience, but sometimes things don’t go as planned. Understanding how to adjust your approach can make all the difference. Here are some expert tips to help you navigate common baking challenges.
Timing, Consistency, and Adjusting for Oven Variations
Every oven behaves differently. If you’re using dark or black baking sheets, reduce the baking time by about 1 minute. Conversely, if you have air-insulated sheets, you may need to increase the time by 2 minutes. Always keep an eye on the edges and centers rather than relying solely on the timer.
Common Issues and How to Resolve Them
- Cold Butter: If your butter isn’t at room temperature, beat it longer to achieve the right consistency.
- Overbaking: Be cautious, as overbaked cookies can become cakier and less chewy.
- Soft Cookies: If your cookies are too soft for icing, consider drizzling the icing instead of dipping.
- Frozen Dough: If your dough has been frozen for longer than 30 minutes, add 1-2 extra minutes to the baking time.
Conclusion
The act of baking is a celebration of flavors and shared moments. With the right gluten-free ingredients and certified gluten-free oats, you can create a delightful batch of 60 cookies in just 20 minutes of prep and 9 minutes of baking time. Remember to choose certified gluten-free flour and old-fashioned oats, especially for those with celiac disease or gluten sensitivity.
For texture, use room-temperature dough for thinner cookies or chill the dough for thicker, chewier results. Feel free to customize your cookies with ½-¾ cup of dried fruit, nuts, or 4 ounces of chocolate chips to make them uniquely yours.
Looking for more gluten-free baked treats? Try our gluten free blueberry muffins for another easy homemade option.
Lastly, keep an eye on the edges as they bake, allow cookies to cool properly, and adjust the time based on your baking sheets. Enjoy your baking adventure!