
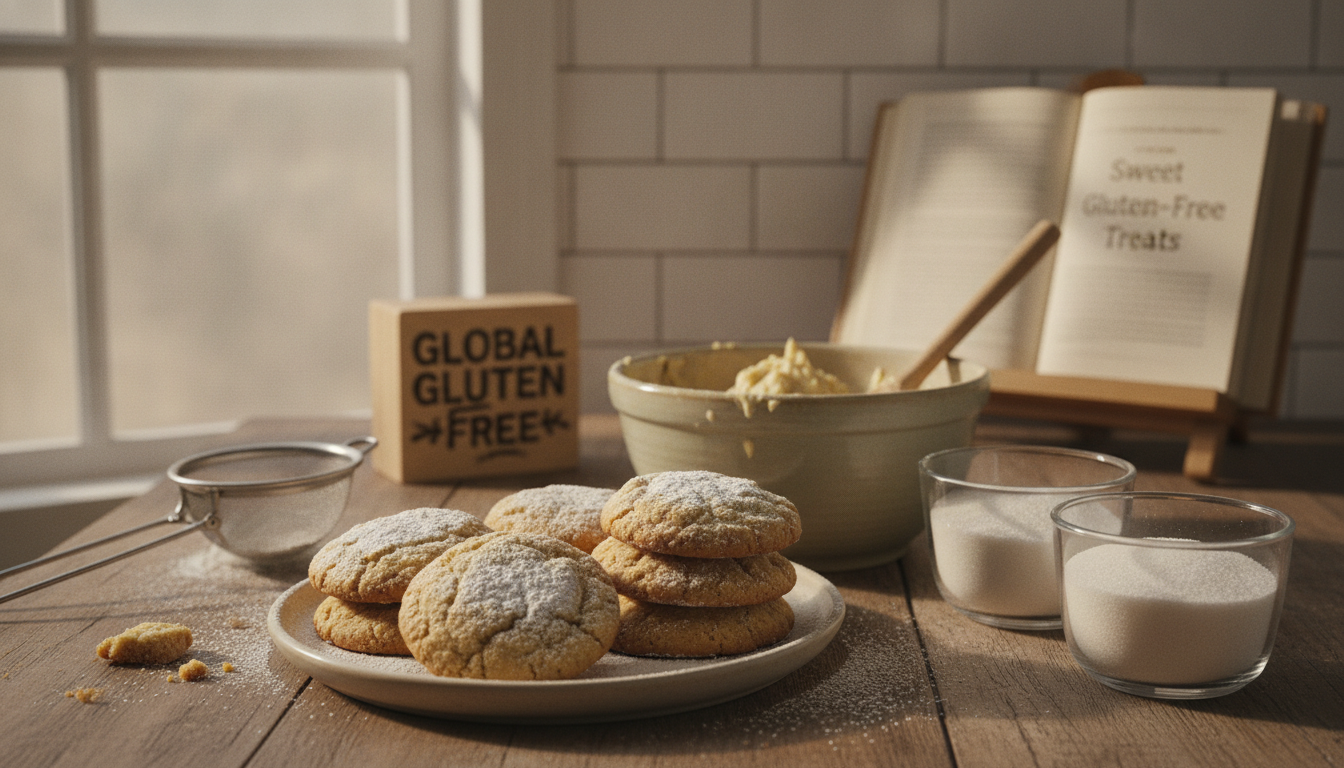
How to Make Gluten Free Sugar Cookies Perfect Every Time
Imagine a warm kitchen filled with the sweet aroma of freshly baked treats. The joy of sharing those moments with family and friends is something truly special. When it comes to delightful desserts, nothing beats the charm of our Gluten Free Sugar Cookies. They are simple to make and perfect for any occasion.
This recipe offers an approachable way to create delicious cookies without the need for intricate shaping or cookie cutters. You can whip up a batch in just about 10 minutes, and they’ll be ready to enjoy in 12 minutes of baking. The result? A delightful yield of 24 cookies with lightly crisp edges and soft, sweet centers.
Using Bob’s Red Mill 1:1 Baking Flour, this recipe ensures a fantastic texture that everyone will love. Whether you’re celebrating a family gathering or just indulging in a sweet treat, these cookies will surely impress.
Key Takeaways
- This recipe is a quick and easy method for making drop cookies.
- You can prepare the dough in just 10 minutes.
- The baking time is approximately 12 minutes.
- The cookies are sweet, buttery, and perfect for gatherings.
- Bob’s Red Mill 1:1 Baking Flour is recommended for best results.
Table of Contents
Essential Ingredients and Kitchen Tools
Gathering the right ingredients is the first step to baking success. For this delightful recipe, you will need a few key components to ensure your treats turn out perfectly.
Key Ingredients: Flour, Baking Powder, and Salt
Start with 1⅓ cups (198 grams) of Bob’s Red Mill 1:1 Gluten-Free Baking Flour. This blend is crucial for achieving the right texture. Next, add ½ teaspoon baking powder to create a light and tender cookie. Don’t forget ¼ teaspoon table salt to enhance the overall flavor.
Your mixture will also require ¾ cup granulated sugar, ½ cup softened butter, one large egg, and 1 teaspoon vanilla extract. If you are using a flour blend without xanthan or guar gum, mix in ½ teaspoon xanthan gum for the best results. For more information about gluten-free labeling, see the FDA’s gluten-free labeling guidance.
Tools for Mixing, Rolling, and Baking
To make the process smooth, gather two mixing bowls, measuring cups, and an electric mixer. A cookie scoop will help form even balls, while parchment-lined pans are essential for baking. Finally, a drinking glass and a wire rack will aid in cooling your cookies.
Preparing the Cookie Dough Step-by-Step
Creating the perfect dough is a crucial step in your baking journey. Start by mixing ¾ cup granulated sugar, ½ cup softened butter, and 1 teaspoon vanilla extract in a bowl. Beat these ingredients together for about 1 minute. This method helps create a thick, cohesive paste that serves as the base for your cookies.
Next, add one large egg to the mixture. Mix until everything is fully combined, making sure to scrape the bowl’s sides. This ensures moisture is evenly distributed throughout the dough.
If you prefer a softer dough for cut-out variations, consider incorporating ¼ cup sour cream and 3 tablespoons cornstarch. Gradually mix in 2½ cups gluten-free flour to achieve the desired consistency. For added flavor, include 2 teaspoons vanilla extract and ½ teaspoon almond extract.
When adding dry ingredients, do so slowly. Stop mixing as soon as the dough forms. Over-mixing can negatively impact the final texture of your cookies.
| Ingredient | Amount | Purpose |
|---|---|---|
| Granulated Sugar | ¾ cup | Sweetness |
| Butter | ½ cup | Texture |
| Egg | 1 large | Moisture |
| Vanilla Extract | 1 teaspoon | Flavor |
| Gluten-Free Flour | 2½ cups | Structure |
How to Make Gluten Free Sugar Cookies
Baking cookies is an art that begins with a well-prepared dough. The next step is to form your dough into even cookie balls for consistent baking. Each drop cookie uses approximately 1 tablespoon of dough, so using a cookie scoop is a great way to achieve uniform sizes.
Once you have your portions, roll each into a ball. Place the balls on a parchment-lined baking sheet, ensuring there is about 2 inches of space between them. This spacing allows the cookies to spread properly while baking.
To achieve the perfect thickness, press each ball down to about ¾-inch thick. You can use your hand, the bottom of a glass, or a measuring cup for this step. Flattening is crucial because cookies that are left rounded will spread during baking but remain thick in the center.
For an optional twist, consider rolling the dough balls in approximately ½ cup of sanding or coarse sugar. This adds a delightful crunch and extra sweetness to your treats. If you love classic cookie flavors, try our Gluten Free Chocolate Chip Cookies for another easy homemade option.
Baking Tips for Perfect Texture
Perfecting your baking technique can transform your treats into something extraordinary. The right temperature and timing are crucial for achieving that delightful texture.
First, preheat the oven to 350°F and line your baking sheet with parchment paper. This ensures that your dough begins baking at the intended temperature. For drop cookies, bake them for about 12 minutes. Keep an eye on their appearance; lightly golden edges are a better signal than just the clock.
When making cut-out cookies, they typically bake for 9-11 minutes at the same temperature. However, Bob’s Red Mill version requires 325°F for 15-18 minutes. For a softer texture, roll your cookies to ¼ inch thick. If you prefer a crispier result, aim for ⅛ inch.
After baking, let your cookies cool on the baking sheet for about 5 minutes. This helps prevent them from breaking apart when you transfer them.
| Cookie Type | Baking Temperature | Baking Time |
|---|---|---|
| Drop Cookies | 350°F | 12 minutes |
| Cut-Out Cookies | 350°F | 9-11 minutes |
| Bob’s Red Mill Cut-Out | 325°F | 15-18 minutes |
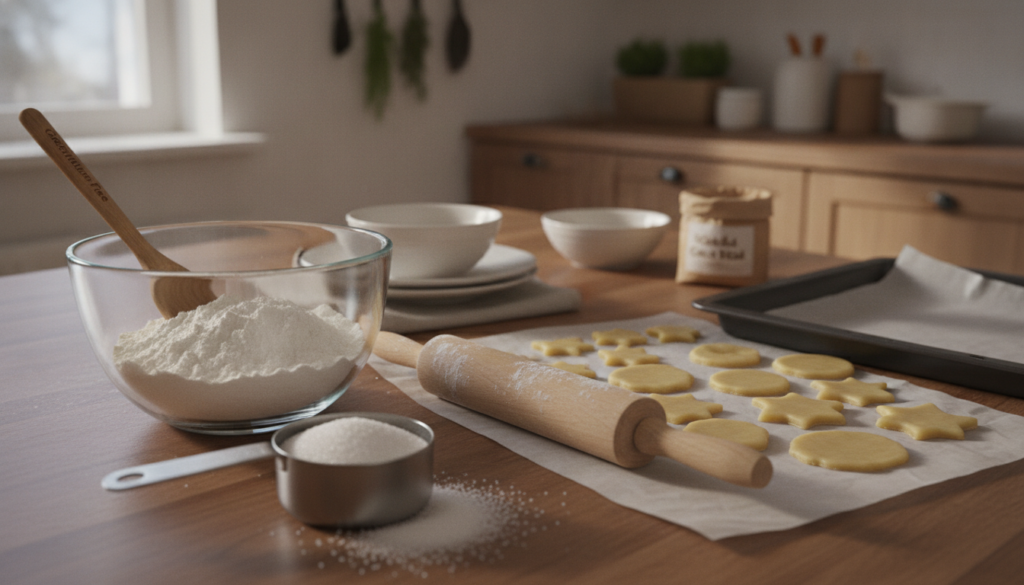
Creative Decorating and Finishing Touches
Transform your cookies into edible art with a few creative touches. Decorating your treats not only enhances their appearance but also adds a personal flair that makes them even more special.
Start with a simple icing made from 1 cup powdered sugar and 1-2 tablespoons milk. Mix until you achieve a smooth consistency. You can add food coloring to this icing for a festive look, perfect for any occasion.
If you enjoy chewy, wholesome cookie variations, you can also try our Gluten Free Oatmeal Cookies for a different texture and flavor.
Simple Icing and Festive Sprinkles
Once your cookies are completely cooled, decorate them with royal icing or buttercream. Before the icing sets, sprinkle colored sparkling sugar on top for an extra touch of sweetness. This technique works wonderfully for creating holiday designs, such as Christmas cookies or Halloween pumpkins.
Incorporating Personal Flavor Variations
For a richer flavor, add ½ teaspoon almond extract along with 2 teaspoons vanilla extract to your icing. If you’re feeling adventurous, try lemon extract or lemon oil for a bright twist while keeping the basic cookie recipe intact.
If you’re looking for another easy gluten-free baked treat, our Gluten Free Baked Donuts are another fun option.
Make-Ahead and Storage Solutions
Planning ahead can make your baking experience more enjoyable and less stressful. Proper storage of your dough and cookies is essential for maintaining their delightful texture and flavor.
For another simple homemade baked treat, you can also try our Gluten Free Blueberry Muffins
Chilling and Freezing the Dough
Wrap your cut-out dough tightly in plastic wrap and refrigerate it for at least 1 hour or up to 2 days. This allows the flour to hydrate and the dough to firm up, making it easier to work with.
If you’re making drop-cookie dough, it can also be refrigerated for up to 2 days when wrapped securely. For longer storage, shape the dough into balls and freeze them on a baking sheet until solid. Then, transfer them to a freezer container for up to 2 months.
When you’re ready to bake, simply thaw the frozen dough for about 20 minutes before placing it in the oven.
Proper Storage to Maintain Freshness and Texture
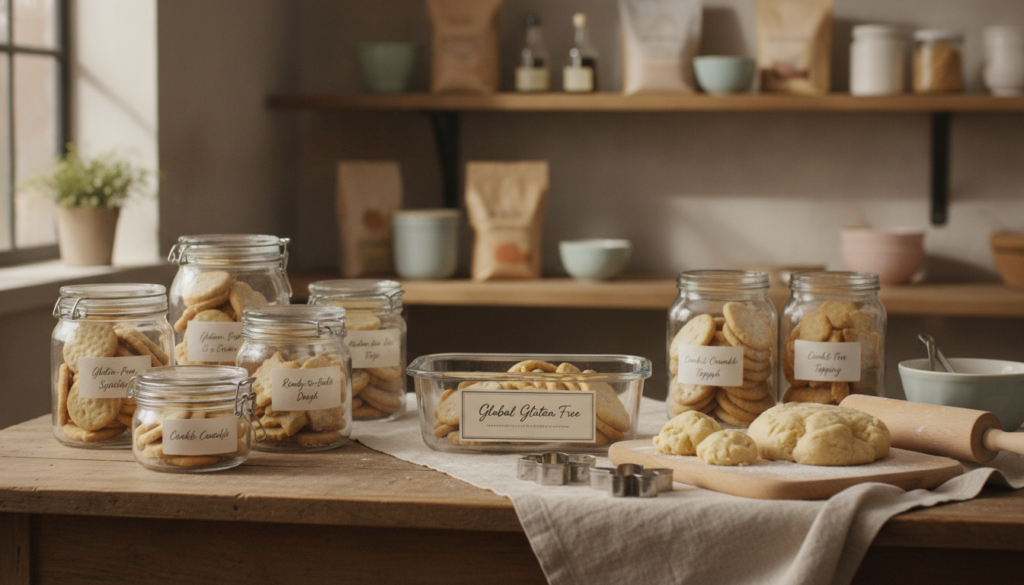
After baking, store your drop cookies in an airtight container at room temperature for up to 5 days. This will help preserve their delightful texture. For cut-out cookies, aim to consume them within 3 days for the best flavor.
If you have leftovers, you can freeze baked cookies for up to 3 months. Just be sure to separate layers with parchment paper to prevent sticking.
Troubleshooting Common Baking Challenges
Baking can sometimes present challenges that require careful attention. If you encounter issues with your dough, don’t worry—there are solutions to help you achieve the perfect texture.
Start by checking the consistency of your dough. If it feels too soft or sticky, chill it for 10-15 minutes before shaping. This can make it easier to handle without adding excess flour, which might alter your recipe.
For additional gluten-free baking guidance, see King Arthur Baking’s gluten-free baking guide for tips on flour selection, xanthan gum, dough resting, and baking techniques.
Adjusting Dough Consistency and Ingredient Ratios
When using a flour blend without xanthan or guar gum, it’s essential to add ½ teaspoon xanthan gum to maintain the dough’s structure. Measure your ingredients carefully to preserve the intended ratios, especially when using 2½ cups gluten-free flour, 3 tablespoons cornstarch, and ¼ cup sour cream.
Tips for Handling Sticky or Over-soft Dough
If your cookies spread excessively during baking, try chilling the dough longer. Ensure that the butter was softened, not melted, and verify your oven temperature. For those looking for dairy-free options, substitute 1 cup butter with ½ cup shortening and ½ cup vegan butter, along with dairy-free sour cream.
Conclusion
Creating delicious treats can be a joyful experience that fills your home with sweet memories. If you enjoy exploring different varieties, discover more gluten free cookies for every occasion. Reliable results depend on accurate flour measurements, softened butter, and thoroughly mixed dough. Remember to bake drop cookies at 350°F for about 12 minutes, watching for those lightly golden edges.
Use one-tablespoon portions and space them 2 inches apart to ensure even baking. Once cooled, feel free to decorate your cookies with icing, sparkling sugar, or seasonal colors. Adding almond or lemon extract can elevate their flavor even further.
For more gluten-free cookie ideas, explore our Gluten Free Cookies collection for more homemade favorites.
Store your treats in an airtight container at room temperature for up to 5 days, or freeze them for up to 3 months. Adjust chilling, flour, and baking time gradually until you find the perfect balance for your kitchen and taste preferences.