
Best Gluten Free Chocolate Chip Cookies You Can Bake Today
Have you ever craved a warm, gooey treat that brings back memories of childhood? The aroma of freshly baked cookies can evoke feelings of comfort and joy. If you’re looking for a delightful recipe that meets your dietary needs, you’re in the right place.
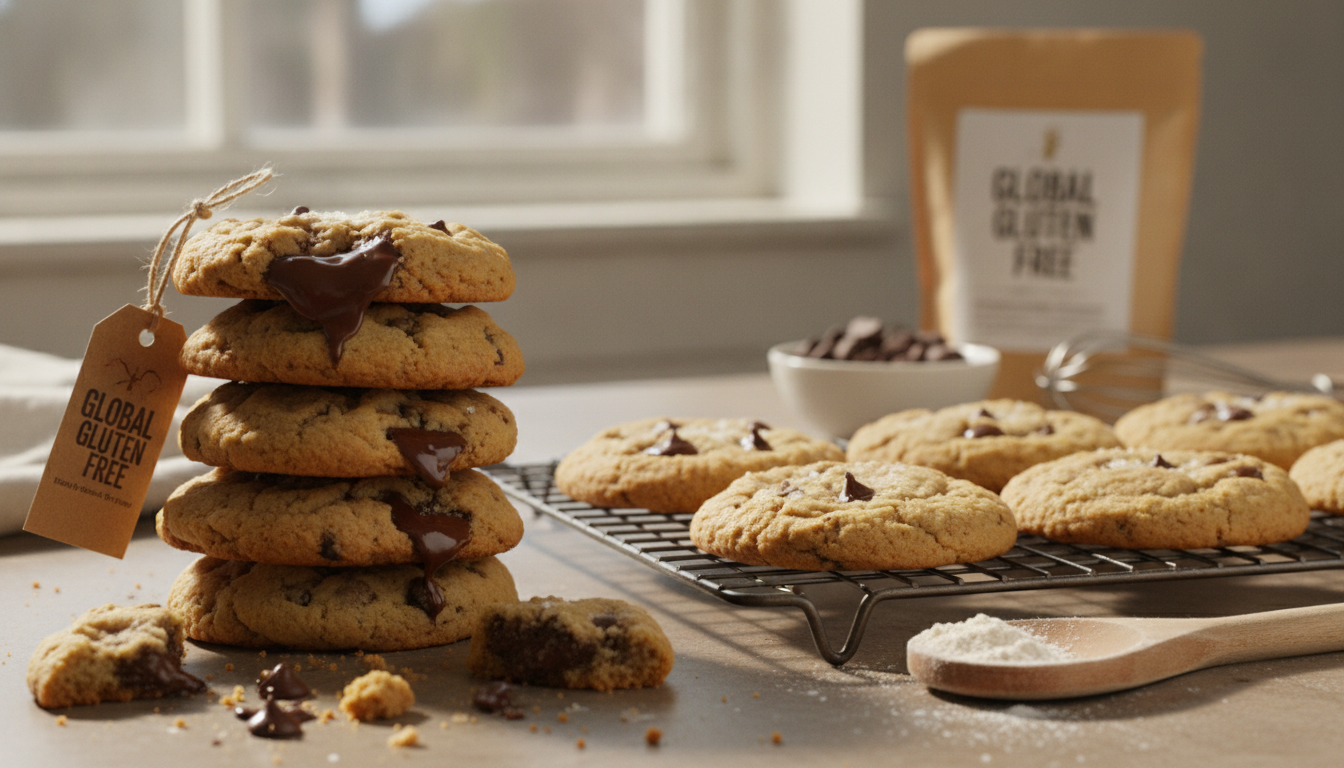
Imagine biting into a cookie with a chewy center and crisp golden edges. These cookies are not just any treats; they’re part of the world of gluten free cookies, crafted to perfection, with melted chocolate chips oozing from every bite. This recipe focuses on a simple technique—browning the butter—to create cookies with crisp edges, soft centers, and rich chocolate flavor.
This recipe requires no mixer, making it accessible for everyone. The combination of browned butter, brown sugar, and a touch of espresso powder creates a rich, deep flavor while helping these cookies develop their signature texture. You’ll also find practical tips on resting, baking, freezing, and storing these delicious cookies.
Table of Contents
Introduction to Gluten Free Chocolate Chip Cookies
Imagine the joy of biting into a soft, warm treat that instantly transports you back to your childhood. This recipe has been designed to solve some of the most common problems with gluten-free cookies: dry texture, excessive crumbliness, and lack of chew. The result? Soft, chewy cookies with a slightly crisp exterior that are sure to delight.
While removing gluten from a recipe doesn’t automatically make it healthier, it does make a beloved treat accessible to many. Common issues with gluten-free baking include dry crumbs, gritty textures, and unusual aftertastes. However, with carefully chosen flour, butter, sugar, eggs, vanilla, and chocolate, you can create a familiar cookie experience.
For more information about what “gluten-free” means on food labels, see the FDA’s gluten-free labeling guidance.
The combination of gluten-free flour, browned butter, brown sugar, and cornstarch helps create a cookie with a soft center and lightly crisp edges. Expect a soft center, lightly crisp edges, and rich browned-butter flavor in a straightforward recipe that requires no mixer or dough chilling.
Gluten Free Chocolate Chip Cookies Recipe Overview
| Ingredient | Amount | Purpose |
|---|---|---|
| Unsalted butter | ½ cup (113 g) | Browned for deep, bakery-style flavor |
| Brown sugar | ¾ cup (150 g) | Gives chewiness and a soft center |
| Granulated sugar | ¼ cup (50 g) | Helps create crisp, crackly edges |
| Large egg | 1 | Structure and richness |
| Vanilla extract | 2 tsp | Enhances the chocolate/butter flavor |
| Gluten-free 1:1 flour blend | 1¼ cups (175 g) | Main gluten-free base |
| Cornstarch | 1 tbsp | Helps create a tender, soft center |
| Baking soda | ½ tsp | Browning and spread |
| Salt | ½ tsp | Balances sweetness |
| Chocolate chips | 1 cup (170 g) | Melty chocolate throughout |
| Espresso powder | ½ tsp | The unexpected ingredient — intensifies the chocolate flavor without making the cookies taste like coffee |
What if you could create a batch of warm, delightful treats that remind you of simpler times? Baking these cookies is a rewarding experience, especially when you know the ingredients are carefully chosen for the best flavor and texture.
The combination of browned butter, brown sugar, and granulated sugar gives these gluten-free chocolate chip cookies their signature texture. Brown sugar keeps the centers soft and chewy, while granulated sugar helps create those crisp, golden edges. A small amount of cornstarch keeps the centers tender, and espresso powder intensifies the chocolate flavor without making the cookies taste like coffee.
Want to see the technique in action? Watch this step-by-step video before making the cookies.
Ingredients and Their Impact on Texture and Flavor
Consider the delight of enjoying a warm dessert that reminds you of happy times. The ingredients you choose play a crucial role in achieving the perfect texture and flavor. Using high-quality gluten-free flour can significantly affect your results.
For the best outcome, opt for a 1:1 gluten-free flour blend that includes xanthan gum. Both King Arthur Gluten Free Measure-for-Measure Flour and Bob’s Red Mill 1:1 Baking Flour have proven effective in testing. These blends provide the necessary structure for a soft cookie.
Browned butter is the main flavor-building ingredient in this recipe. Cooking the butter until its milk solids turn golden brown creates a rich, nutty flavor that gives the cookies a bakery-style taste.
When it comes to sugars, brown sugar adds chewy moisture, while granulated sugar contributes to spread and crisp edges. One large egg provides moisture, richness, and structure while helping bind the dough.
The same attention to flour selection is important in other gluten-free baked goods, such as our gluten free blueberry muffins
Mixing Techniques and Preparing the Cookie Dough
Imagine standing in your kitchen, the warm scent of baked treats filling the air. The preparation of your dough is a crucial step in achieving that perfect cookie. Follow these simple techniques to create a delightful batch.
Step-by-Step Dough Preparation
Start by whisking together the gluten-free flour, cornstarch, baking soda, salt, and espresso powder in a medium bowl. Mixing the dry ingredients first helps distribute the leavening and seasoning evenly throughout the dough.
Next, brown the unsalted butter in a saucepan over medium heat. Continue cooking until the butter becomes golden brown and develops a nutty, fragrant aroma. Remove it from the heat and transfer it to a heatproof bowl. Let it cool for several minutes until warm but no longer hot.
Pour the browned butter into a large mixing bowl. Whisk in the brown sugar and granulated sugar until well combined. Add the egg and vanilla extract, then whisk until smooth.
Gradually add the dry ingredients to the wet mixture. Use a rubber spatula to mix just until a soft cookie dough forms. Avoid overmixing, as this can make the cookies denser. Gently fold in the chocolate chips, making sure they are evenly distributed.
Do You Need to Chill Gluten-Free Cookie Dough?
For this recipe, you don’t need to chill the dough. Once the dough is mixed, scoop it onto a parchment-lined baking sheet and bake.
Skipping the chilling step keeps the recipe quick while allowing the cookies to develop golden, crisp edges and soft, gooey centers.
Because there’s no chilling required, you can go from mixing the dough to baking the cookies without waiting for the dough to firm up in the refrigerator.
Baking Tips for Perfectly Chewy Cookies
The key to getting the right texture is knowing when to take the cookies out of the oven. Gluten-free cookies can quickly become dry if they’re overbaked.
Preheating the Oven and Ideal Baking Time
Preheat your oven to 350°F (175°C). For the most consistent results, use an oven thermometer if your oven tends to run hot or cold.
Line a baking sheet with parchment paper and place the cookie dough portions about 2 inches apart to give them room to spread.
Bake for 10–12 minutes, or until the edges are lightly golden and the centers still look slightly soft. Don’t wait for the centers to become completely firm in the oven—they will continue cooking from the residual heat of the baking sheet.
Let the cookies cool on the baking sheet for about 5 minutes, then transfer them to a wire rack to finish cooling.
Mastering Brown Butter in Gluten Free Baking
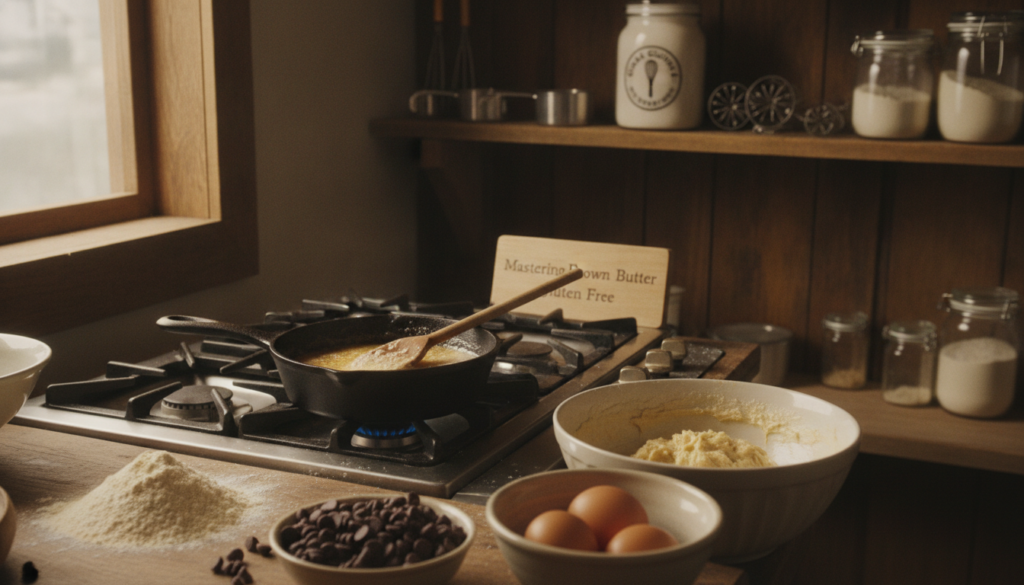
Browning the butter is the key to the rich, bakery-style flavor in these gluten-free chocolate chip cookies. Cooking the butter until the milk solids turn golden brown gives it a deep, nutty aroma that makes every bite more flavorful.
To brown butter effectively, follow these steps:
- Melt the butter in a light-colored saucepan over medium heat. Stir or swirl the pan frequently as the butter melts and begins to foam.
- As the butter melts, it will foam and bubble. Continue cooking until the milk solids turn golden brown and the butter develops a nutty aroma.
- Continue cooking until the foam begins to subside and golden-brown flecks appear at the bottom of the pan. The butter should smell rich and nutty.
- Remove the saucepan from heat as soon as the butter turns golden, as it can quickly go from browned to burnt.
- Transfer the browned butter to a heatproof bowl and let it cool for several minutes before adding the sugars. The butter should be warm but not hot before you continue with the recipe.
Customization: Dairy-Free, Nut-Free, and Vegan Options
Imagine being able to enjoy delightful treats while accommodating various dietary preferences. Customizing your recipe can make it accessible for everyone at the table. Here are some simple substitutions you can make to cater to specific needs.
For a nut-free version, this recipe is naturally nut-free as long as your gluten-free flour blend and chocolate chips are free from nuts and cross-contact. Always check product labels if you’re baking for someone with a nut allergy.
If you’re looking to make dairy-free cookies, use a dairy-free butter alternative along with dairy-free chocolate chips. Keep in mind that most dairy-free butter alternatives won’t brown in exactly the same way as traditional butter, so the flavor will be slightly different.
Always select dairy-free chocolate chips and check that all packaged ingredients meet your household’s dietary requirements.
Accurate Flour Measurement to Avoid Gritty Dough
Accurate flour measurement is especially important when baking gluten-free cookies. For the most consistent results, weigh your gluten-free flour rather than relying on volume measurements. This recipe uses 175 grams of gluten-free 1:1 flour.
To ensure the best results, consider these tips:
- Weigh 175 grams of gluten-free 1:1 flour using a kitchen scale for the most consistent results.
- If measuring by volume, spoon the flour gently into a dry measuring cup instead of scooping directly from the bag.
- Level the cup with the flat edge of a knife or spatula without pressing the flour down.
- Avoid using a liquid measuring cup for dry flour, as it is harder to measure and level accurately.
- Measuring the flour correctly helps prevent cookies that are too dry, dense, or crumbly.
Freezing and Storing Your Cookie Dough and Baked Cookies
These cookies are easy to freeze, whether you want to save unbaked dough for later or keep a batch of baked cookies on hand.
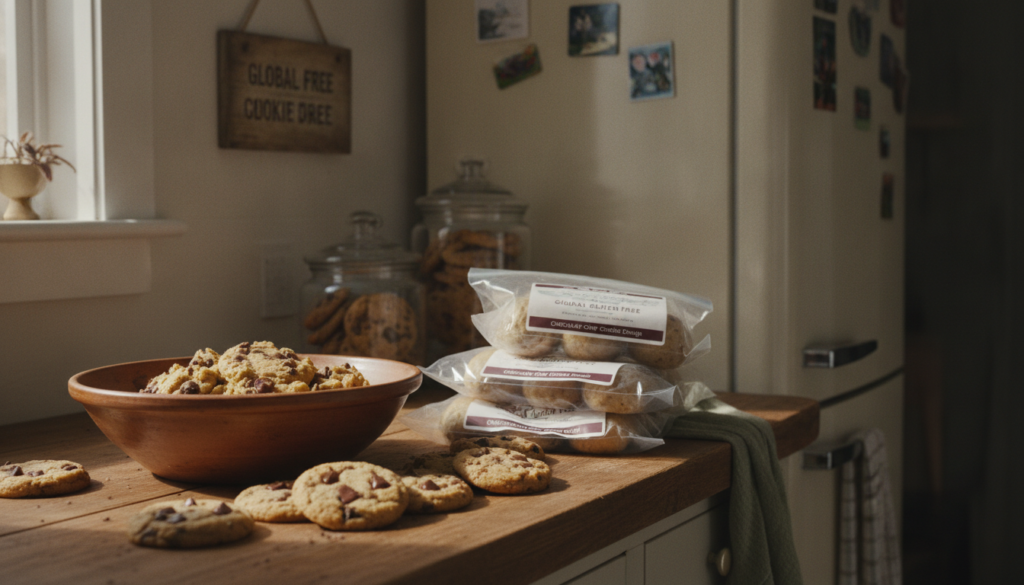
You can freeze either portioned cookie dough or fully baked cookies. For dough, scoop individual balls onto parchment or a silicone mat. Freeze them separately for several hours before transferring to an airtight freezer bag. This method allows you to bake fresh cookies on demand.
Freezing Cookie Dough Balls Versus Baked Cookies
Frozen dough balls can be baked directly from the freezer at 350°F (175°C). Add a couple of minutes to the baking time and look for lightly golden edges with slightly soft centers. Store baked cookies in an airtight container at room temperature for about 2–3 days. For longer freshness, freeze fully cooled cookies for up to three months. Thaw them to room temperature before enjoying.
Best Practices for Long-Term Freshness
For the best texture, enjoy the cookies within 2–3 days when stored in an airtight container at room temperature. If you want to keep them longer, freezing is the better option.
Troubleshooting Common Dough and Texture Issues
Gluten-free cookie dough can behave differently depending on the flour blend you use. These simple fixes can help if your dough doesn’t look or feel right.
If your dough appears unusually thin, let it sit for a few minutes first. Gluten-free flour can continue absorbing moisture after mixing. If the dough is still too loose, add gluten-free flour 1 tablespoon at a time. Remember that different flour brands absorb liquid differently, so adjustments may vary.
- Start with a small amount to avoid over-flouring, which can lead to dry, dense results.
- Check if your flour blend contains xanthan gum, as it helps create a soft, chewy texture.
- The finished dough should be soft and scoopable without being excessively wet or runny.
If the cookies don’t spread:
Make sure the browned butter wasn’t allowed to cool and solidify completely before mixing the dough. Also check that you measured the flour accurately, as excess flour can prevent the cookies from spreading properly.
Essential Equipment for Baking Success
You don’t need special equipment to make these cookies, but a few basic tools will make the process easier and more consistent.
Cookie Scoops, Baking Sheets, and Silicone Mats
Using a small cookie scoop, approximately 2 tablespoons of dough, ensures uniform portions that bake evenly.
- Line sturdy baking sheets with parchment paper or silicone mats to reduce sticking and simplify cleanup.
- Keep a rubber spatula handy for scraping browned butter from the pan and folding in flour without overmixing.
- A saucepan is ideal for even butter browning, enhancing the flavor of your treats.
- Don’t forget a wire rack for cooling cookies after their initial 5-minute rest on the baking sheet.
| Tool | Purpose | Recommendation |
|---|---|---|
| Kitchen scale | Accurate flour measurement | Digital scale |
| Light-colored saucepan | Browning butter | Small to medium saucepan |
| Cookie scoop | Uniform portions | 2-tablespoon scoop |
| Baking sheet | Even baking | Sturdy sheet pan |
| Rubber spatula | Mixing and folding | Flexible silicone spatula |
| Wire rack | Cooling | Standard cooling rack |
Serving Suggestions and Enjoyment Tips
These cookies are especially good while they’re still slightly warm, when the chocolate is soft and the centers are chewy.
To start, sprinkle flaky sea salt over the warm cookies right after baking. This touch balances the sweetness and deepens the chocolate flavor, making each bite even more satisfying.
Pair your cookies with a comforting beverage. They go wonderfully with coffee, cold milk, hot cocoa, or tea, creating a familiar and delightful combination. For an extra indulgence, add a scoop of vanilla ice cream to your serving. The warm center of the cookie will complement the cold ice cream beautifully.
Enjoy these treats fresh, as they are best consumed within 2 to 3 days when stored properly.
If you’re looking for another classic cookie to bake, try these gluten free sugar cookies for a simple, buttery treat.
Exploring Recipe Variations for Gluten Free Chocolate Chip Cookies
The type of chocolate you use can change the sweetness, texture, and overall flavor of these cookies. There are many options to consider that can transform your treats into something truly special.
You can use mini chocolate chips, semi-sweet chips, dark chocolate chunks, chopped chocolate bars, or chocolate disks depending on the texture and flavor you prefer. This recipe uses 170 grams of chocolate chips, which gives you plenty of chocolate without overwhelming the cookie dough.
For another chewy cookie option, try our gluten free oatmeal cookies, which are easy to customize with chocolate chips, dried fruit, or nuts.
Different Chocolate Types and Mix-In Ideas
- Mini chocolate chips: distribute chocolate more evenly throughout each cookie.
- Semi-sweet chocolate chips: give the classic chocolate chip cookie flavor.
- Dark chocolate: creates a richer, less-sweet cookie.
- Chopped chocolate: creates larger pools of melted chocolate.
- Chocolate chunks: give the cookies a more rustic, bakery-style appearance.
- Toasted nuts or dried fruit: can be added for extra texture, but keep the total amount of mix-ins reasonable so the dough remains easy to scoop.
Conclusion
These gluten-free chocolate chip cookies have everything you want from a classic cookie: golden crisp edges, soft centers, rich chocolate, and a deep nutty flavor from browned butter.
For the best results, weigh your gluten-free flour, allow the browned butter to cool slightly before adding the egg, and remove the cookies from the oven while the centers still look slightly soft. The centers will continue to firm up as the cookies cool.
Enjoy them warm with a sprinkle of flaky sea salt, or freeze portions of the dough so you can bake a fresh batch whenever you want.