
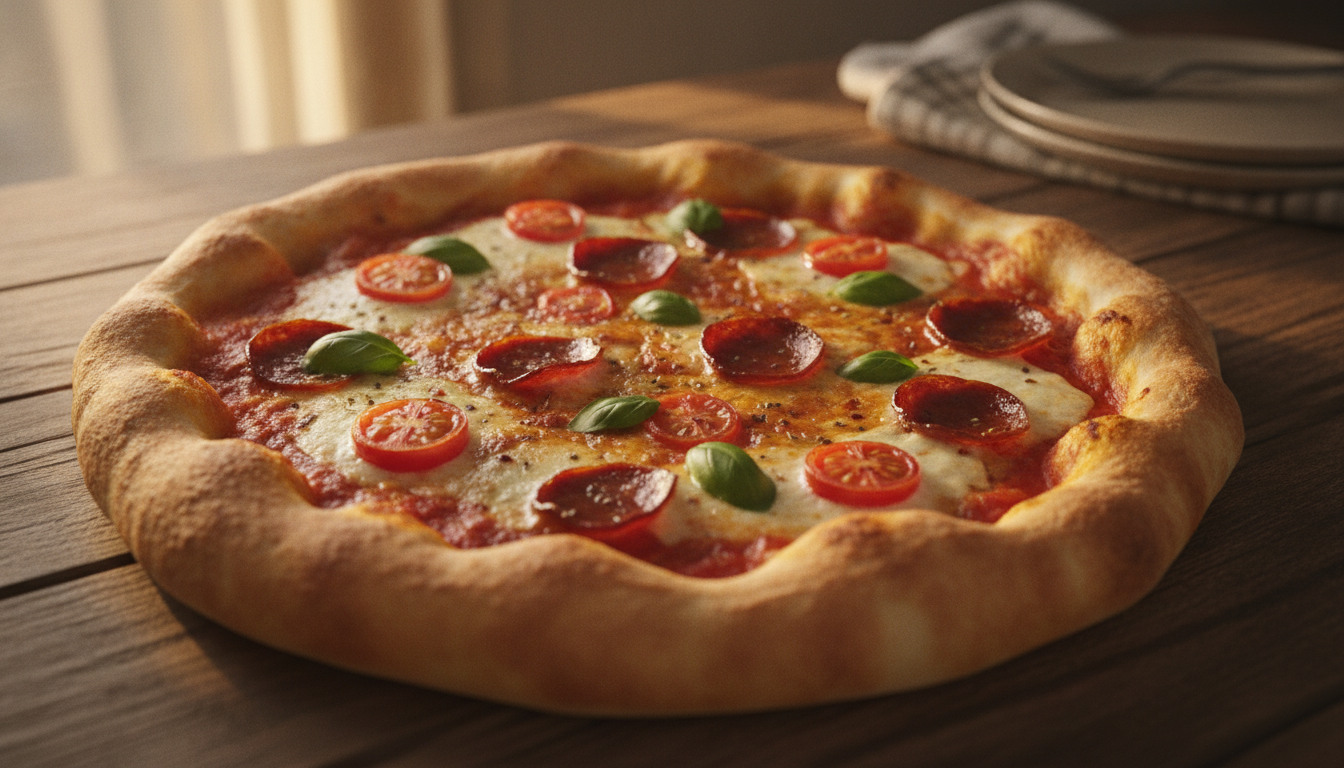
Gluten Free Pizza: Crispy, Chewy & Easy Homemade Recipe
Some meals bring everyone to the table, and a warm homemade pie can do just that. You can enjoy a crisp edge and tender center without relying on wheat-based flour. This simple recipe makes one 10- to 12-inch thin crust, so it suits a family dinner or a relaxed weekend treat.
This method adapts Anna Vocino’s low-carb approach from Eat Happy Italian, her cookbook of grain-free takes on Italian classics. The dough uses almond flour, mozzarella, cream cheese, and one large egg for a soft, easy-to-shape base.
You will mix the dough, shape the crust, bake it, add toppings, and return the pizza to the oven. Follow each measurement and baking time closely. At 425 degrees F, a thin base can dry out when it stays in too long.
Table of Contents
Gluten Free Pizza Ingredients for a Crispy, Chewy Crust
Gather every ingredient before you start. This keeps the dough simple and helps you shape the crust without rushing. No yeast or water is needed for this almond flour base.
Essential Flour, Cheese, Egg, and Seasonings
Measure ⅔ cup almond flour, 1½ cups shredded mozzarella, 3 tablespoons cream cheese, and one large egg. Add ½ teaspoon each of dried oregano, dried basil, and garlic powder. These ingredients create a soft mixture that forms a tender pizza crust.
Almond flour is made from ground almonds and is commonly used in gluten-free baking. For more information about almonds and almond-based ingredients, see the Almond Board of California.
Choosing Sauce, Cheese, and Toppings
For the sauce, simmer 1 tablespoon olive oil, 1 teaspoon minced garlic, seven to 10 chopped basil leaves, two 14-ounce cans of no-sugar-added diced tomatoes, 3 ounces tomato paste, and 1 teaspoon salt. Bring the mixture to a boil, then simmer for 10 to 15 minutes. This recipe yields about 2½ cups.
A little butter or extra olive oil can soften sharp tomato flavor. Check each label for hidden wheat, especially on cheese, sauce, seasonings, and toppings. This step matters when you prepare a gluten-free pizza for someone with celiac disease. The FDA’s gluten-free labeling guidance explains what manufacturers must meet when using a gluten-free claim.
How to Make the Pizza Dough
Warm cheese helps this dough come together quickly, so let the cream cheese soften before mixing. Place the mozzarella, cream cheese, egg, almond flour, oregano, basil, and garlic powder in a large bowl.
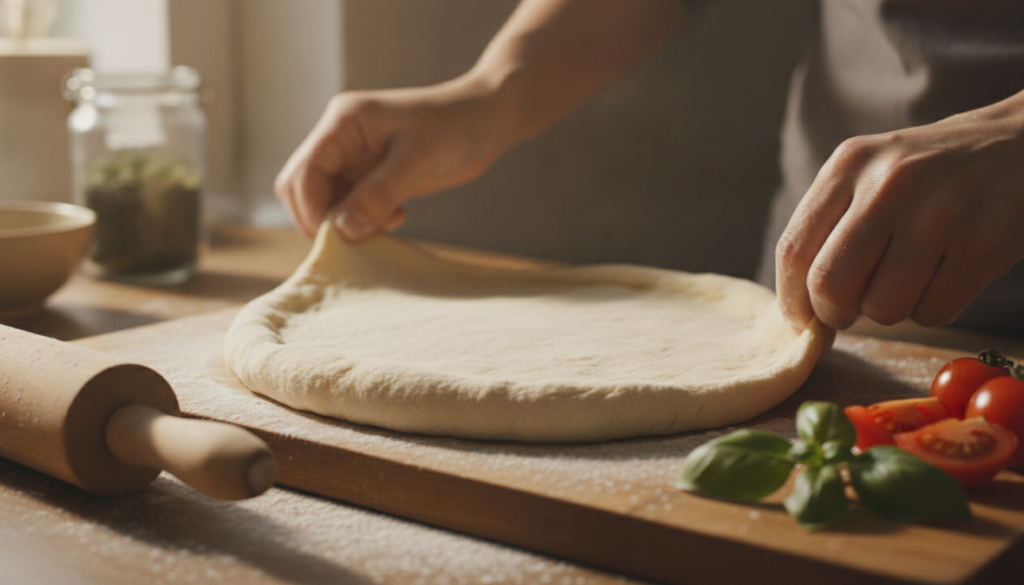
Mixing the Dough in a Bowl or Stand Mixer Fitted With a Paddle Attachment
Stir the ingredients with a sturdy spoon until the flour disappears and the mixture looks cohesive. You can also use a bowl stand mixer fitted with a paddle attachment. Mix on low speed, then stop when the dough forms a soft ball.
Shaping the Dough Into a Soft, Even Pizza Crust
Place the ball in the center of the prepared baking sheet. Press it gently into a 10- to 12-inch circle or square. Aim for an even ¼-inch thickness so the crust bakes from edge to center.
Tips for Handling Dough
This dough will not stretch like wheat dough. If it feels sticky, dampen your hands or rub them with a little olive oil. Press, rather than pull, to keep the shape even. Pierce fork holes across the surface to limit rising.
To prepare ahead, cover the shaped dough tightly with plastic wrap and keep it chilled. Handle it gently when ready for baking.
How to Prepare the Baking Sheet and Oven
A steady oven and a well-prepared pan set the stage for an even bake. Start by preheating the oven to 425 degrees F. This gives the crust a fully heated space from the moment the dough goes in.
If you’re looking for another savory gluten-free bake, try our gluten free cornbread for a tender, golden side dish.
Use a rimmed baking sheet to hold the thin dough. Its raised edges help contain olive oil, sauce, and melted cheese during baking. They also reduce spills when you move the sheet in and out of the oven.
Line the baking sheet with parchment paper. Press it flat against the base and corners. Spray the paper lightly with olive oil spray. This layer helps prevent sticking without adding excess oil to the dough.
Keep the prepared pan away from water and place it on a stable oven rack. Shape the dough nearby, then transfer it to the center of the paper. A little flour on your hands can help if the dough feels tacky.
The parchment-lined surface also makes removal easier. Once baking ends, you can lift the paper and slide the pizza onto a board. This gentle method helps protect the crust’s thin edges.
| Preparation step | What to use | Why it helps |
|---|---|---|
| Heat the oven | 425 degrees F | Supports even baking |
| Line the pan | Parchment paper | Reduces sticking |
| Prepare the surface | Light olive oil spray | Helps lift the crust |
Baking the Crust for the Best Texture
The first bake sets the shape and gives your base a firm surface. Watch the color closely, because a thin crust can change from golden to dry in only a short time.
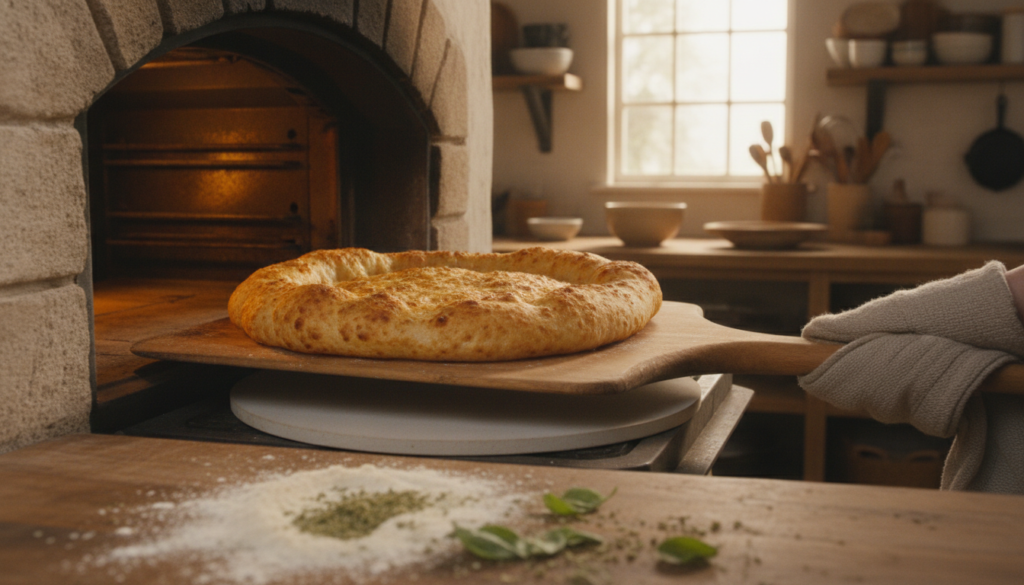
Using Parchment Paper on a Rimmed Baking Sheet
Keep the dough on the parchment-lined sheet as it bakes. At 425 degrees F, bake the plain crust for 6 to 8 minutes. Remove the sheet when the surface starts to turn golden, but do not wait for deep browning.
To flip the crust, place a second sheet of parchment over the top. Set another baking sheet above it, then turn both sheets over in one smooth motion. Lift away the first pan and paper. This method supports the thin edge and helps prevent cracks.
Return the crust to the oven for 5 to 6 more minutes. It should begin to brown while the center stays pleasantly chewy. Avoid extra baking time, since the crust may dry out. Remove the crust from the oven before adding sauce and toppings. After assembly, the pizza goes back into the oven for 4 to 5 minutes. A light brush of olive oil can help the edge brown evenly.
Adding Sauce, Cheese, and Toppings
Once the baked crust feels firm, build your gluten-free pizza with a light hand. Let the crust cool for a minute so it stays stable as you add each layer.
Spread a moderate amount of Eat Happy Kitchen Tomato Basil Marinara across the surface. Leave a narrow border around the edge. Too much sauce can add moisture and soften the crust. The homemade version makes about 2½ cups, though this recipe needs only enough for one 10- to 12-inch pizza.
How Much Tomato Sauce and Cheese to Use
Add a thin, even layer of shredded mozzarella. Then choose vegetables, cooked meat, or other labeled toppings. Keep the load modest so the cheese melted well and the center stays firm. Check every package when serving someone with celiac disease.
When to Return the Pizza to the Oven
Place the assembled pizza in the oven for 4 to 5 minutes. Remove it when the cheese is melted, bubbly, and lightly browned. For homemade marinara, simmer tomato, garlic, basil, and salt for 10 to 15 minutes. A teaspoon of salted butter or extra olive oil can soften acidity. Store leftovers in an airtight container for future recipes.
| Layer | Guideline | Purpose |
|---|---|---|
| Sauce | Thin layer with a border | Protects crisp edges |
| Cheese | Moderate shredded mozzarella | Encourages even melting |
| Toppings | Use a light, verified selection | Prevents a soggy center |
| Final bake | 4 to 5 minutes | Creates a bubbly finish |
Serving, Storing, and Reheating Homemade Pizza
Give the finished pizza a short rest after its final bake. Wait 4 to 5 minutes before slicing. This pause lets the cheese set and helps the thin crust hold its shape.
For leftovers, place each slice in a sealed container and refrigerate it. Separate stacked slices with parchment paper when needed. This small step limits moisture and helps protect the crust. For best quality, enjoy the leftovers within three days. For general guidance on safely storing and handling leftovers, follow USDA food-safety recommendations.
Reheat slices in a hot oven or skillet instead of a microwave. Use the oven for several minutes, or warm the slice in a covered skillet until the cheese softens. Add a few drops of olive oil to the pan if the edge seems dry. The crust will regain some crispness without becoming hard.
Store homemade Tomato Basil Marinara in an airtight container in the refrigerator for up to 10 days. It can support this recipe or other quick recipes, including sandwiches and bread-based meals. Check that the sauce contains no added sugar if that suits your meal plan.
Conclusion
With a few careful steps, you can turn almond flour dough into a dependable homemade pizza. Shape the dough into a 10- to 12-inch round, then bake the pizza crust before adding sauce, cheese, and toppings. Finish it in the oven until the cheese bubbles.
Measure each ingredient closely, use parchment, and keep the oven at 425 degrees F. Bake the dough for 6 to 8 minutes, flip it, and bake for 5 to 6 more minutes. These short minutes help prevent a dry crust.
Styles vary widely. Flour + Water Pizzeria and Gialina in San Francisco show how creative gluten-free pizza can be. At home, choose verified toppings and save extra marinara in an airtight container. You can also adjust the final bake for a softer or crispier finish. This practical recipe makes gluten-free pizza easier to enjoy any day.
Looking for more easy gluten-free recipes? Try our gluten free pancake recipe for a simple homemade breakfast.