
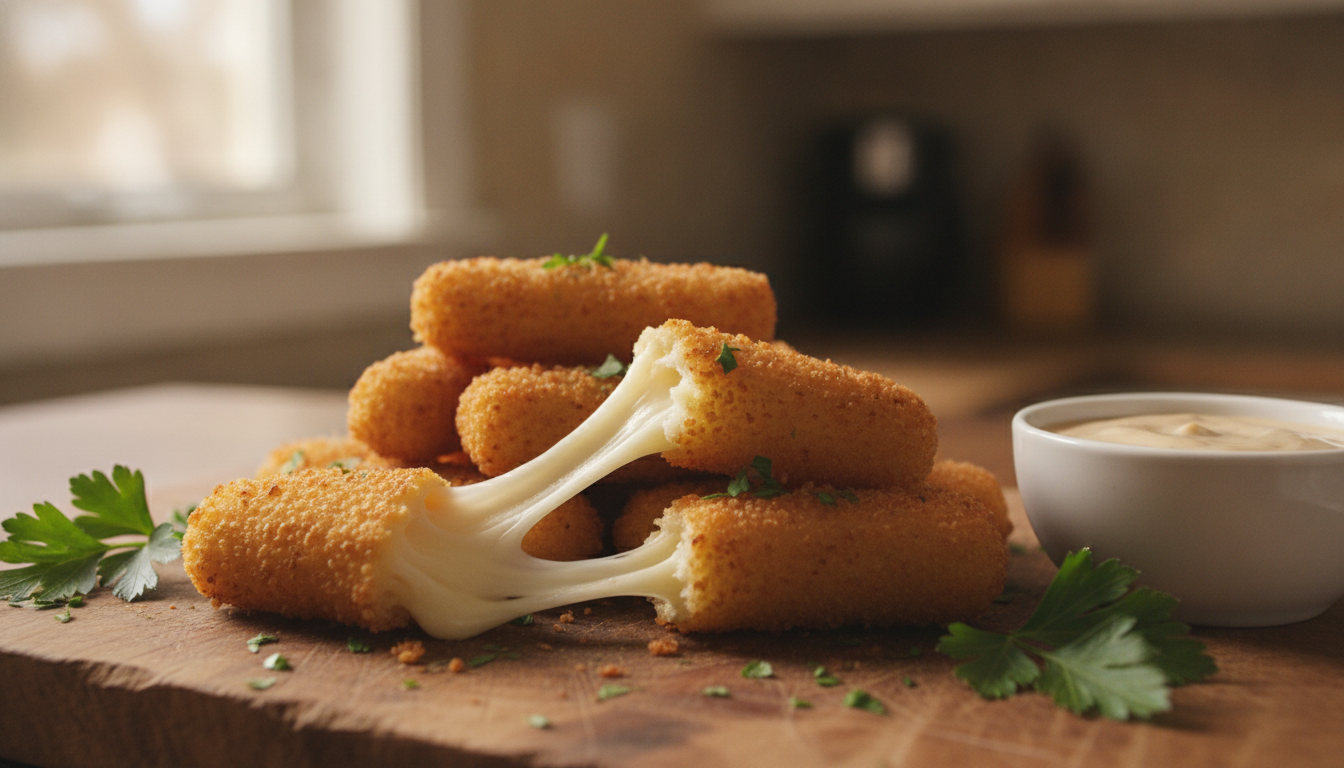
Gluten Free Mozzarella Sticks Recipe for Your Family
Imagine the joy on your family’s faces as they dive into a plate of warm, crispy cheese delights. Creating a special moment around the dinner table is what cooking is all about. With this easy recipe, you can transform 12 pieces of string cheese into 24 delicious, gooey treats that everyone will love.
This recipe not only offers a satisfying crunch but also combines a perfectly seasoned bread exterior with stretchy cheese inside. Whether you choose to shallow fry or use an air fryer, you’ll find that both methods yield delightful results. Plus, the updated instructions include helpful step-by-step photographs, making it even easier to follow.
As you prepare these cheesy wonders, remember to keep the cheese chilled and ensure thorough breading. These small details will help prevent any leaking during cooking. Get ready to impress your family with a snack that is both fun and flavorful!
Table of Contents
Introduction to Gluten-Free Appetizers
Picture your family gathering around a platter of crispy, cheesy bites that everyone loves. The rise of gluten-free cooking has opened up new possibilities for delicious snacks. Many traditional recipes, like mozzarella sticks, often rely on regular breadcrumbs. However, making them at home allows you to choose gluten-free flour and certified gluten-free bread products.
Note : When buying packaged ingredients, look for products labeled gluten-free and check the ingredient and allergen information carefully.
If you are preparing these mozzarella sticks for someone who needs to avoid gluten, use clean utensils, surfaces, and cookware to reduce the risk of cross-contact.
One of the reasons homemade appetizers matter is the control you gain over ingredients. You can adjust the seasoning, oil, and breading around each cheese piece. This flexibility means you can cater to your family’s taste preferences. A simple three-step breading station makes the process easy, whether you opt for an air fryer or a conventional pan.
“Fried mozzarella sticks were my last indulgence before going gluten-free, highlighting the need for a reliable homemade version.”
By preparing these snacks at home, you can ensure they are just as tasty as the originals, with a personal touch that everyone will appreciate.
Ingredient Essentials for Gluten Free Mozzarella Sticks
Visualize your loved ones enjoying a platter filled with crispy, cheesy goodness. To achieve this, it’s essential to select the right ingredients. The key to a successful recipe starts with the flour and cheese you choose.
Choosing the Right Gluten-Free Flour
For the best results, opt for a gluten-free all-purpose blend or finely ground white rice flour. Avoid coconut flour, as it can alter the texture of your cheese sticks. You will need 1 cup, or 113 grams, of flour for the recipe.
Selecting the Best Mozzarella Cheese
String cheese is a great choice since most varieties use low-moisture mozzarella. This type holds its shape during frying and becomes delightfully stretchy. If you prefer a block option, cut low-moisture mozzarella into pieces instead of using fresh mozzarella.
If you’re making other gluten-free bread products at home, our gluten free bread recipe is another useful addition to your gluten-free kitchen.
| Ingredient | Quantity | Notes |
|---|---|---|
| Gluten-Free Flour | 1 cup (113 grams) | Use all-purpose blend or white rice flour |
| String Cheese | 12 pieces | Low-moisture preferred for frying |
| Dried Gluten-Free Breadcrumbs | 1 cup (113 grams) | Fine crumbs recommended |
| Eggs | 2 large | Whisk until smooth |
| Seasonings | Various | Basil, black pepper, garlic powder, salt |
Preparing the Mozzarella Sticks for Optimal Texture
Envision your family excitedly reaching for crispy, cheesy bites that satisfy their cravings. The preparation process is crucial for achieving the perfect texture. Start by cutting each string cheese piece in half, which will yield 24 delightful sticks. If you prefer, you can also cut a block of mozzarella into ½-inch pieces.
Next, place the cut cheese on a parchment-lined baking sheet. This will help the breaded pieces chill without sticking. It’s essential to coat every side, including both ends. Bare areas can allow melted cheese to escape before the exterior turns crisp.
After breading, chill the freshly coated sticks for at least 15 minutes. If your kitchen is warm, consider using the freezer to ensure they firm up properly. For a firmer texture, you can freeze the prepared sticks for at least 2 hours on the baking sheet.
| Step | Action | Time |
|---|---|---|
| Cut Cheese | Cut each string cheese in half or into ½-inch pieces | N/A |
| Chill | Place on a parchment-lined sheet | 15 minutes |
| Freeze | For firmer texture, freeze the sticks | 2 hours |
Step-by-Step Breading Process
Consider the excitement that fills the kitchen as you prepare a delightful assembly line for your cheese bites. This breading process is key to achieving that perfect crispy coating. You will need three plates to set up your dipping station.
Start with seasoned gluten-free flour on the first plate, followed by two whisked eggs on the second, and finally, dried gluten-free breadcrumbs on the third. This sequence is crucial for a successful coating.
If you’re making your own gluten-free bread products at home, our gluten free bread recipe is another useful option for building a gluten-free pantry.
Setting Up Your Dipping Station
- Roll each cheese piece through the flour, ensuring to cover the ends.
- Next, dip it into the smooth egg mixture, making sure it’s well-coated.
- Repeat the flour and egg stages a second time; this double dip builds a stronger barrier around the cheese.
- Finish by pressing the cheese piece into the breadcrumbs gently, ensuring they adhere without flattening.
- Inspect each breaded stick for any holes, as complete coverage is essential to prevent cheese leakage.
- Place the finished pieces on a baking sheet and chill them for at least 15 minutes before cooking.
| Step | Action | Notes |
|---|---|---|
| 1 | Set up plates | Flour, eggs, breadcrumbs |
| 2 | Coat cheese | Flour, egg, flour, egg, breadcrumbs |
| 3 | Inspect | Check for holes |
| 4 | Chill | At least 15 minutes |

Mastering gluten free mozzarella sticks: Frying and Air Frying Methods
Think about the delicious aroma filling your kitchen as you prepare crispy cheese bites that will delight your family. Mastering the cooking methods for these treats is essential to achieve that perfect crunch. You can choose between frying or air frying, both of which yield fantastic results.
Frying Tips for a Crispy Coating
For shallow frying, heat ½ inch of oil in an 8-inch frying pan. Cook six sticks at a time for about 30 seconds on each side until they are golden brown. If you prefer deep frying, use oil heated to 365°F and fry 4-5 sticks for 2-3 minutes. Remember, avoid crowding the pan to maintain the oil temperature and ensure even cooking.
Air Fryer Settings and Techniques
When using an air fryer, preheat it for the best results. Start by air frying at 350°F for 3 minutes, then turn the sticks and cook for an additional 1-2 minutes. Some air fryers may require different settings, with options like 370°F for 6 minutes or 390°F for 6-8 minutes. A light spray of cooking spray on the breaded cheese can help achieve a crispier exterior.
| Method | Temperature | Time |
|---|---|---|
| Shallow Frying | Medium heat | 30 seconds per side |
| Deep Frying | 365°F | 2-3 minutes |
| Air Frying | 350°F | 3 minutes, then 1-2 minutes after turning |
| Air Frying | 370°F | 6 minutes |
| Air Frying | 390°F | 6-8 minutes |
Tips for Preventing Cheese Melt and Maintaining Crispiness
Imagine the satisfaction of biting into a perfectly crispy cheese stick, fresh from the fryer. To achieve this delightful experience, there are some essential tips to keep in mind. Proper preparation and cooking techniques can make all the difference.
First, chill the breaded cheese for at least 15 minutes before cooking. If you want extra protection against melting, consider freezing the sticks for 30 minutes. Keeping the cheese cold is crucial, as warm cheese can melt before the coating becomes golden brown.
Chilling Before Cooking
- Chill the breaded cheese for at least 15 minutes.
- Freeze for 30 minutes for additional protection.
- Keep the mozzarella cold from preparation through cooking.
Managing Oil Temperature Effectively
Next, managing the oil temperature is vital. Test the frying oil by checking for sizzling breadcrumbs or bubbles around a clean wooden spoon handle. This indicates the oil is ready for frying.
- Cook in small batches to maintain stable oil temperature.
- Turn each piece only once and remove it immediately if cheese starts leaking.
- In an air fryer, preheat fully and consider reducing the temperature if leakage occurs.
Make-Ahead, Freezing, and Storing Guidelines
Preparing ahead can make your cooking experience smoother and more enjoyable. Knowing how to freeze and store your cheese bites can help you savor them later. With a few simple steps, you can have delicious snacks ready for any occasion.
To freeze uncooked sticks, bread them completely and arrange them on a baking sheet. Place the sheet in the freezer for at least 30 minutes. After they firm up, transfer the sticks to a freezer-safe container. They can stay frozen for up to 6 months, allowing you to enjoy fresh cheese bites whenever you wish.
When you’re ready to cook, you can use the air fryer directly from the freezer. Just add about a minute to the cooking time. This ensures that your sticks are hot and crispy.
If you have cooked leftovers, store them covered in the refrigerator for up to 3 days. Reheat them in an air fryer or toaster oven for about 3 minutes. This method helps regain the crispiness of the exterior.
For general food-storage and refrigerator-safety guidance, refer to the USDA’s food safety recommendations.
| Storage Method | Duration | Instructions |
|---|---|---|
| Uncooked Sticks | Up to 6 months | Freeze on a baking sheet, then transfer to a container |
| Cooked Sticks | Up to 3 days | Store covered in the refrigerator |
| Reheating | 3 minutes | Use air fryer or toaster oven for best results |
| Frozen Cooking | Add 1 minute | Cook from frozen without thawing |
Serving Suggestions: Dipping Sauces and Side Ideas
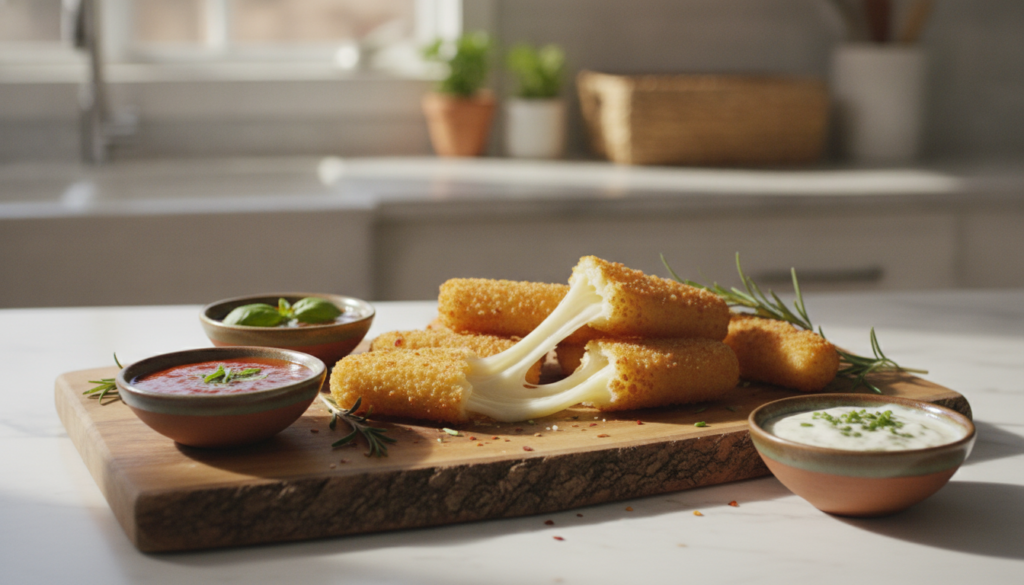
Consider how much more enjoyable your cheese bites become when paired with delicious dipping sauces. A classic choice is marinara sauce, which perfectly complements the crispy exterior of your cheese. This timeless pairing is loved by many and is a staple for a reason.
For those who prefer a cooler option, ranch dressing is an excellent alternative. Its creamy texture and zesty flavor provide a delightful contrast to the warm, cheesy bites.
If you’re feeling adventurous, try serving raspberry sauce. This sweet-savory combination is particularly popular in upstate New York and adds a unique twist to your appetizer spread.
To balance the richness of the fried cheese, consider adding a simple vegetable platter, fresh fruit, or a crisp green salad. For a larger gluten-free meal, serve these mozzarella sticks alongside homemade gluten free pizza. These sides can refresh the palate and enhance the overall dining experience.
If you’re planning a gluten-free appetizer spread, pair these mozzarella sticks with crispy gluten free onion rings for another crunchy favorite.
You can also serve these mozzarella sticks with homemade gluten-free cornbread and other savory sides.
Keep your dipping sauces in separate bowls, allowing each family member to choose their favorite. Whether it’s marinara, ranch, raspberry, or something else, having options makes the meal even more enjoyable!
Conclusion
Imagine the warmth of family bonding over a plate of crispy, cheesy goodness. This recipe for cheese bites is a surefire way to create memorable moments. Remember, the best results come from using low-moisture cheese and double breading. Chilling the cheese before cooking is essential for achieving that perfect golden brown finish.
You can shallow-fry six sticks for 30 seconds on each side or adapt the air fryer settings to suit your appliance. Freezing the prepared pieces makes this recipe practical for gatherings, as uncooked sticks can go straight from the freezer to the fryer.
Leftovers? No problem! Refrigerate cooked bites for up to three days and reheat them in an air fryer or toaster oven for a crispy finish. With gluten-free flour and breadcrumbs, you can make these cheesy delights anytime your family craves a tasty snack.